DIY Glitter Frame
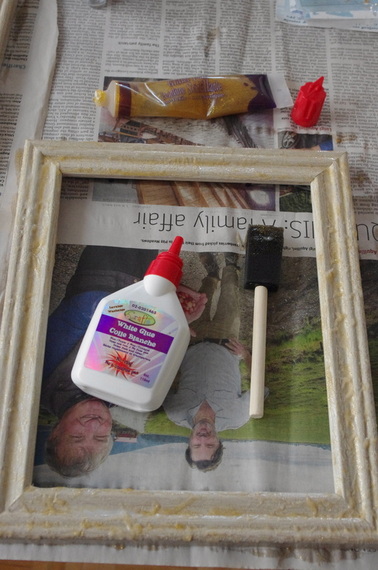
Required materials:
The first step of making your own glitter frames, is to buy frames made of light-coloured wood. This material will allow the glitter to stick, and keep the colour bright.
- frames
- gold glitter glue
- gold and silver glitter
- standard white glue
- newspaper or crafting surface
- painting utensils
The first step of making your own glitter frames, is to buy frames made of light-coloured wood. This material will allow the glitter to stick, and keep the colour bright.

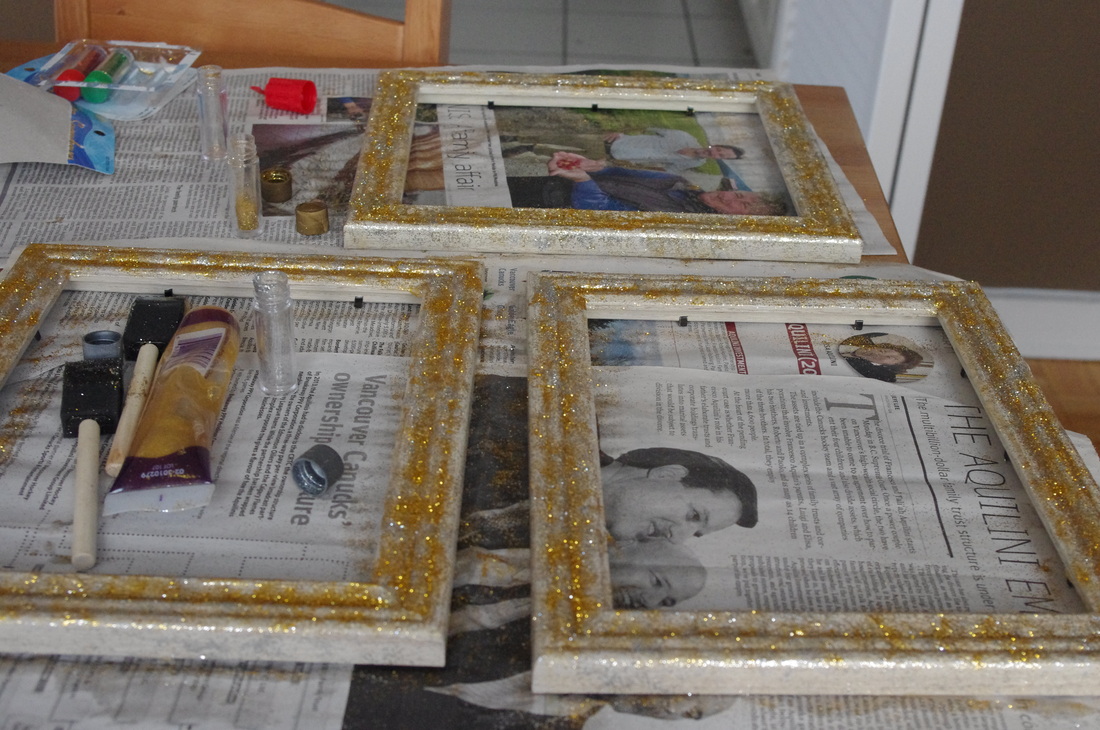
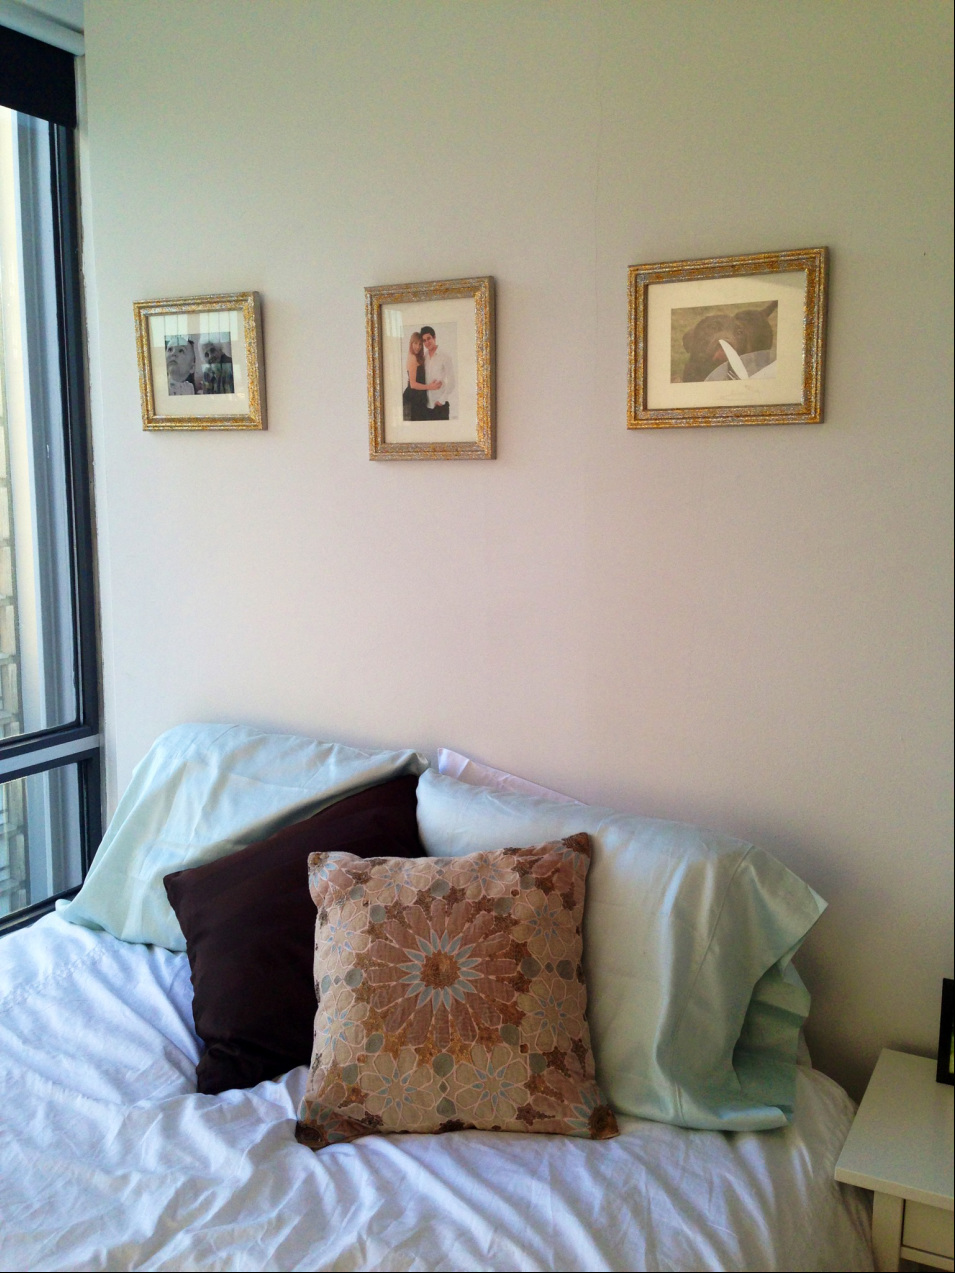
The next step, is to cover each picture frame in glitter glue. You may want to do several layers of this, just so that you get a base glitter-layer. Once this glitter has dried a bit (it doesn't need to be completely dry), cover the picture frames in a thin layer of white glue. Then, while the glue is still wet, cover each picture frame in a layer of silver glitter. Then, coat each frame in a layer of gold. Allow these two layers to dry, and then shake off the extra glitter. Save the extra glitter in a jar, if possible, to use in your next project. When putting up the frames, be sure to be careful not to bang them around, or they will lose a lot of sparkle! The pictures that I have shown here were in color,
DIY Glitter Decor
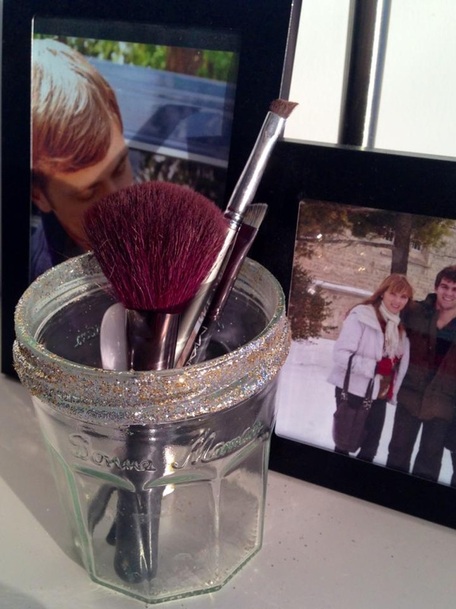
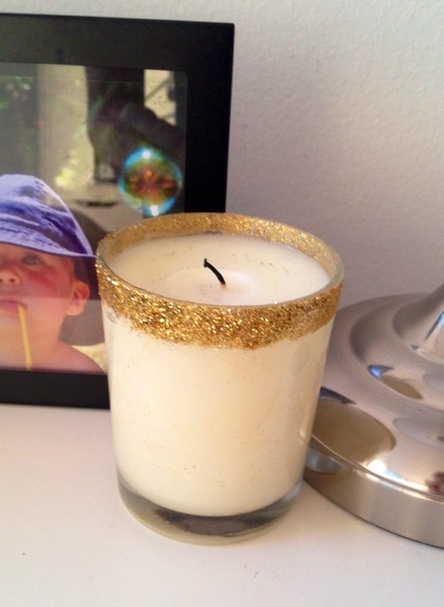
Now, with the leftover glitter from the frames, you can do lots of fun glitter projects! The two that I did recently, were a candle and a mason jar. I use the mason jar for storing my makeup brushes, but you can use them for basically anything. I don't have pictures of them, but another cute craft I have done with glitter, is dipping feathers in gold sparkles. You can find some great inspiration for this craft at the Bridal Musing website, here.
|
|
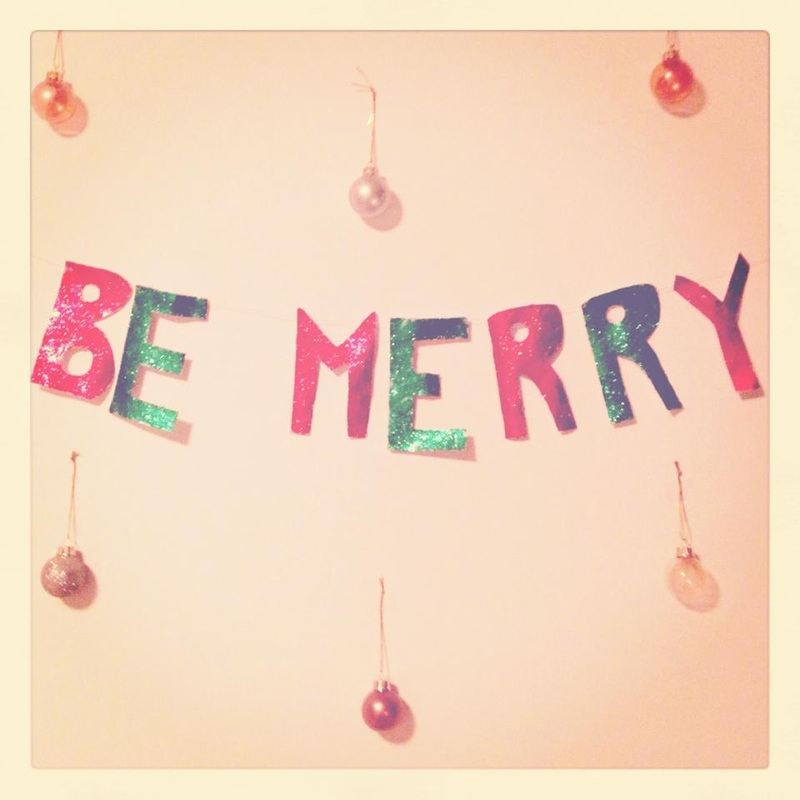
"Be Merry" Ornament
As you can see, I am a huge fan of glitter. This type of sign can obviously be done using any word, and for any occasion, but I was really happy with how this one turned out. All you have to do the make this craft, is cut out letters using card stock or cardboard (mine were old flashcards!), cover them in glue, and then dip them in coloured glitter. Its that simple! Let you letters dry for at least two hours, tap off any excess glitter and then string them together. I used simple sewing thread, and just attached them at the corners, but any type of string will work. Happy holidays!